When I first got to college, my breakfast every morning was a random store-bought bar with tons of oats and fruit in it.
I would call my mom, and she would tell me, “That is not a full breakfast,” which I would adamantly fight her on.
Of course, when 10 a.m. rolled around, I would be starving and cursing myself for not listening to my mother.
This was back when the nice bars were outside of my budget, and I was too stubborn to admit my mom was correct…
Flash forward and I’ve learned some things about breakfast bars.
The most important factor is that not all bars are alike, and not all of them will keep you full until your next meal comes along.
This was a hard lesson to learn in college, but once I started making an actual salary, I began to experiment with different store-bought brands. It was like night and day between the ones I used to eat, and the upgraded ones.
I would actually examine the labels, looking for ingredients that would keep me fuller for longer periods of time. Turns out, the bars that are a little more expensive are that way because they have quality ingredients in them.
Who knew?
Now, I know I could have easily just made something myself for breakfast, like eggs, bacon, or hash browns.
However, I am not a breakfast person. When I get up in the morning, my brain is not alert enough to pull together an entire meal.
By the time I am fully awake, it’s time to run out the door. And there’s no way I will have patience or the time to sit down to an actual meal on a weekday morning.
That’s why I turned to the bars in the first place. I need to wake up a bit before I can even think about putting food into my body, and by the time I actually need it, I don’t have the wherewithal or the inclination to make something from scratch.
Once I finally reach my desk, my brain starts to actually engage for the day. And then there isn’t time to make breakfast anyway!
Well, for all you bar lovers like myself, I have great news for you:
No longer do you have to rely on what you’re able to find on the store shelves. No longer are you limited to choosing between flavors you might “like,” but seldom love.
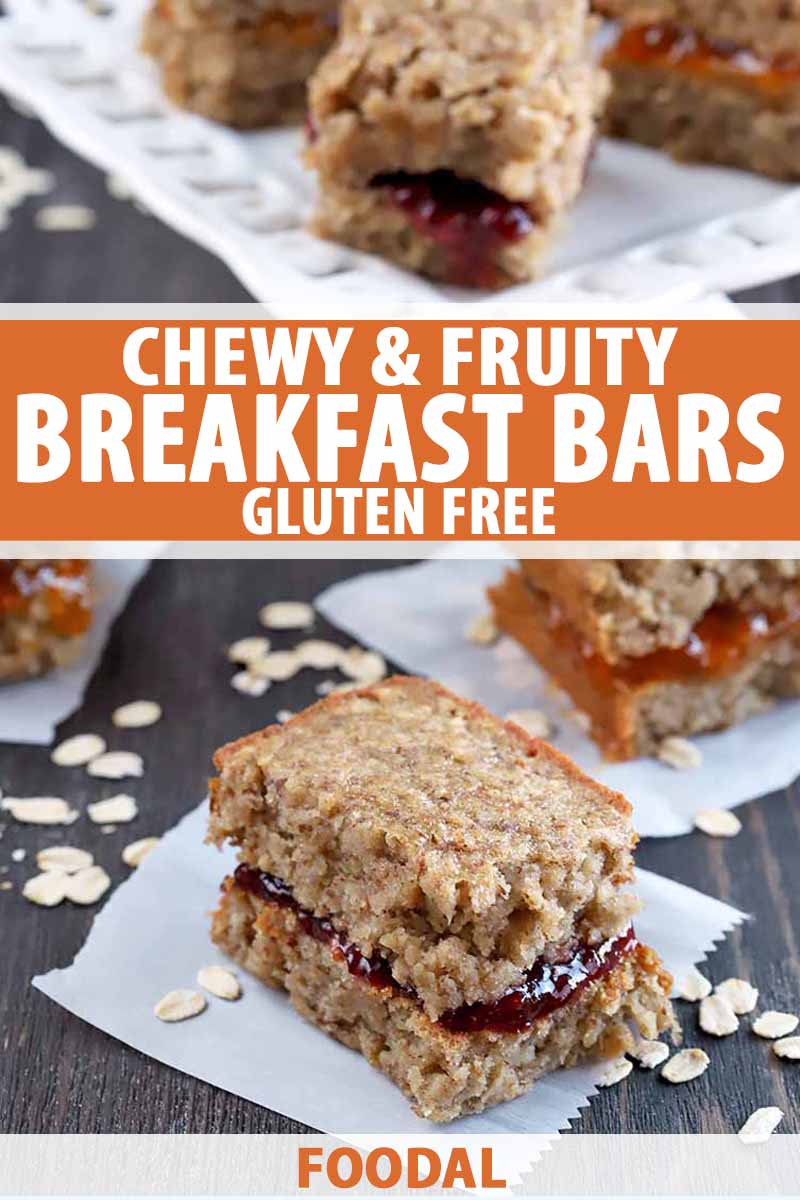
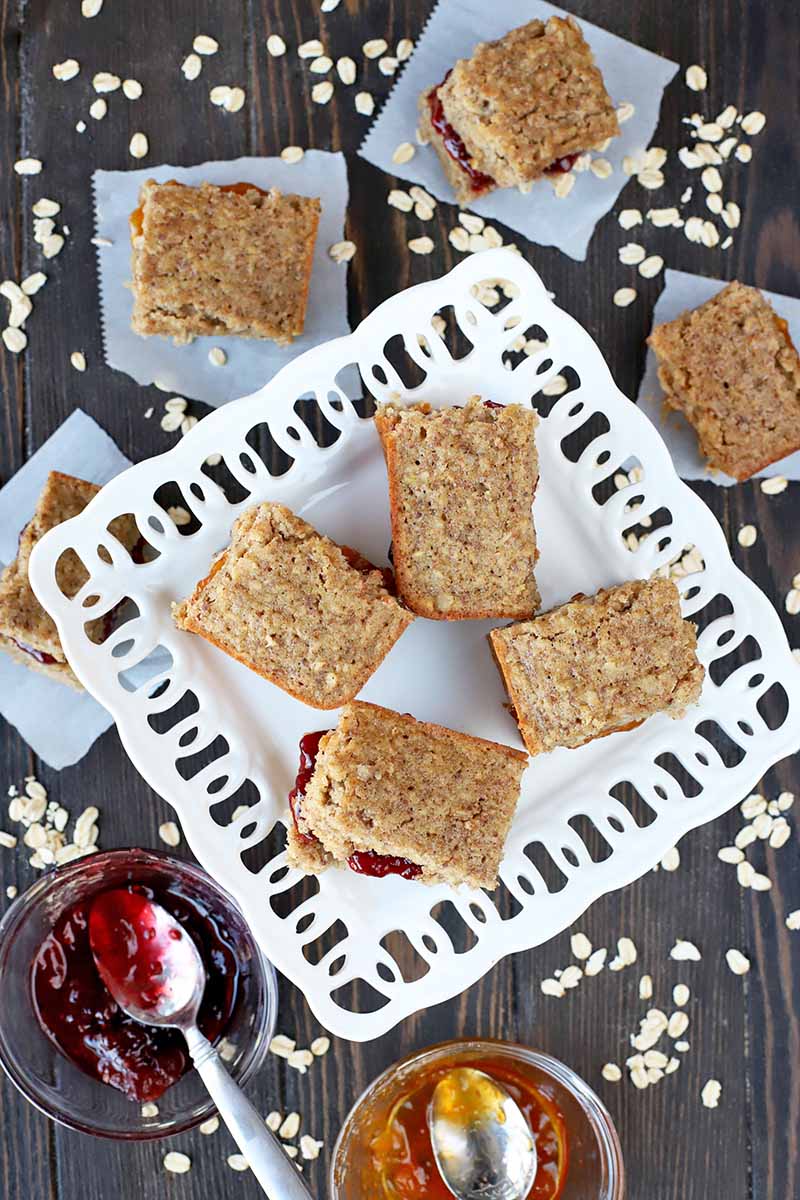
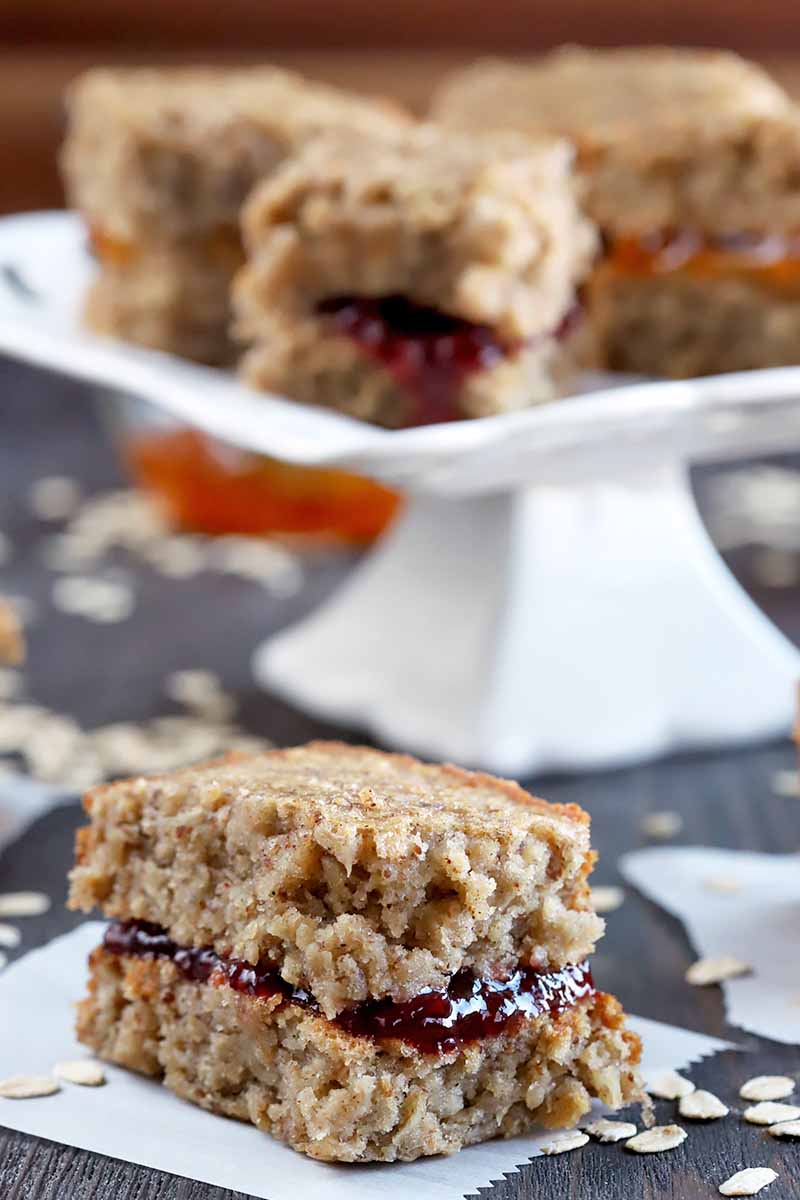
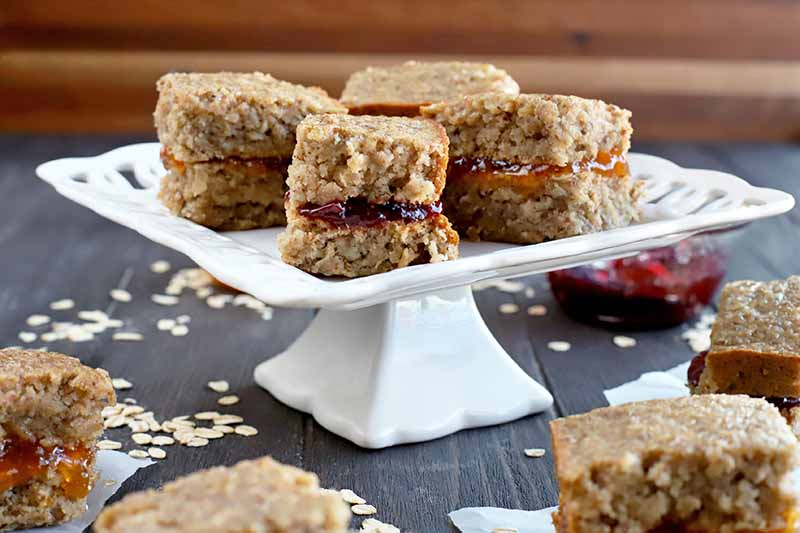
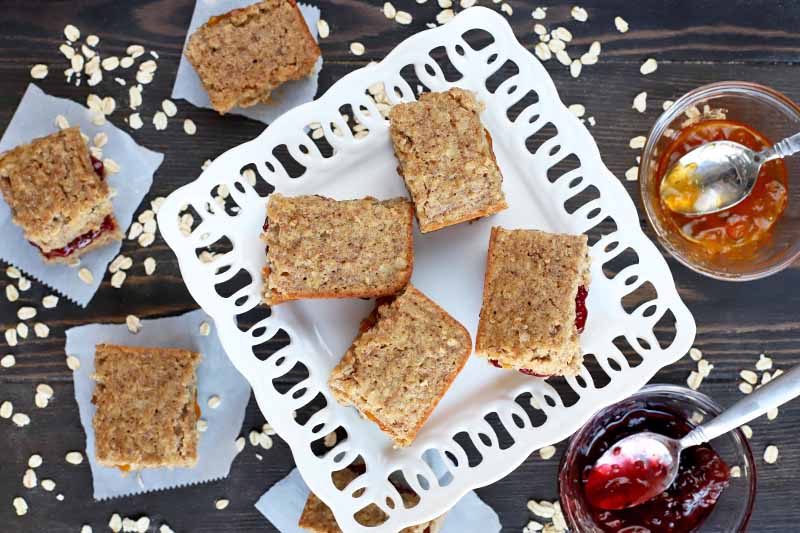
These chewy and fruity breakfast bars are a revelation in terms of flavor and texture. You won’t believe how tasty these little guys are.
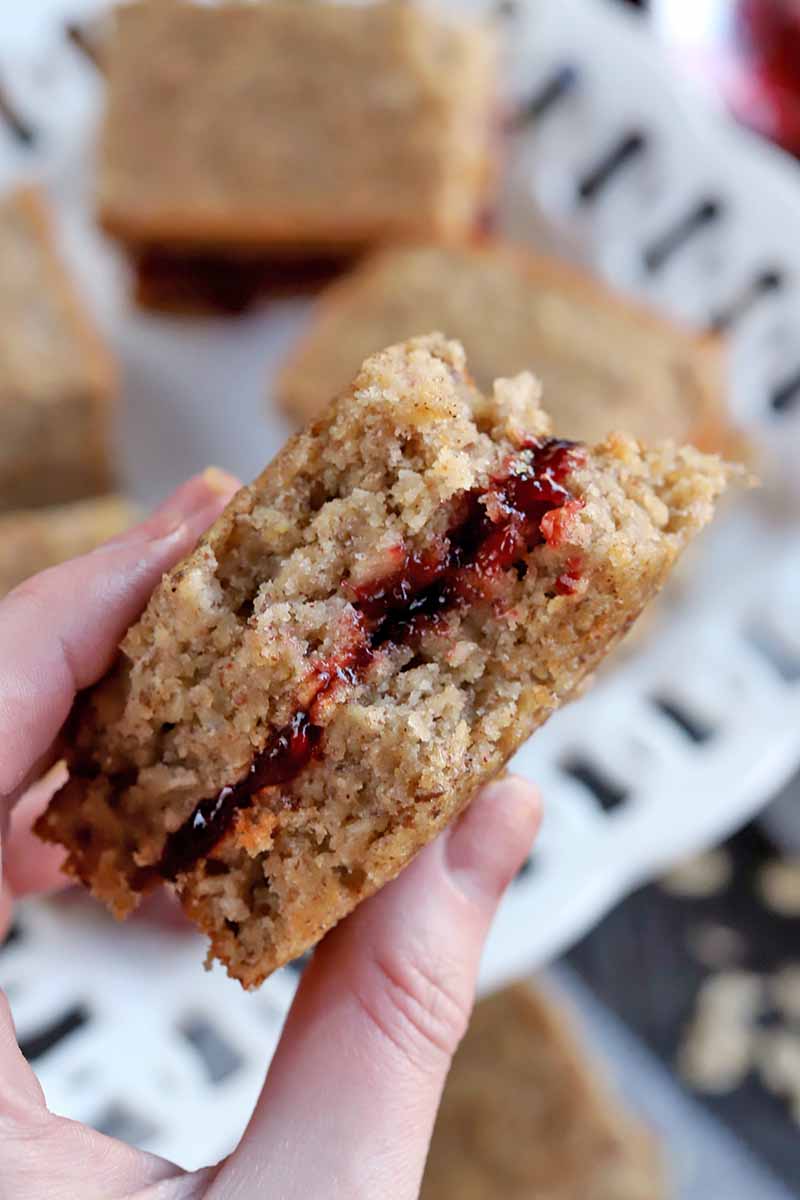
Each bar is nice and chewy, with a ton of flavor and depth. Honestly, you will feel like you are eating cake because of the moist and dense texture.
Then, you can choose whatever type of fruit preserves you want to put in the center. Personally, I am a fan of apricot and raspberry, but you can literally use any fruit preserve your heart desires.
Homemade fig jam? You can do that! Blueberry filling? Definitely!
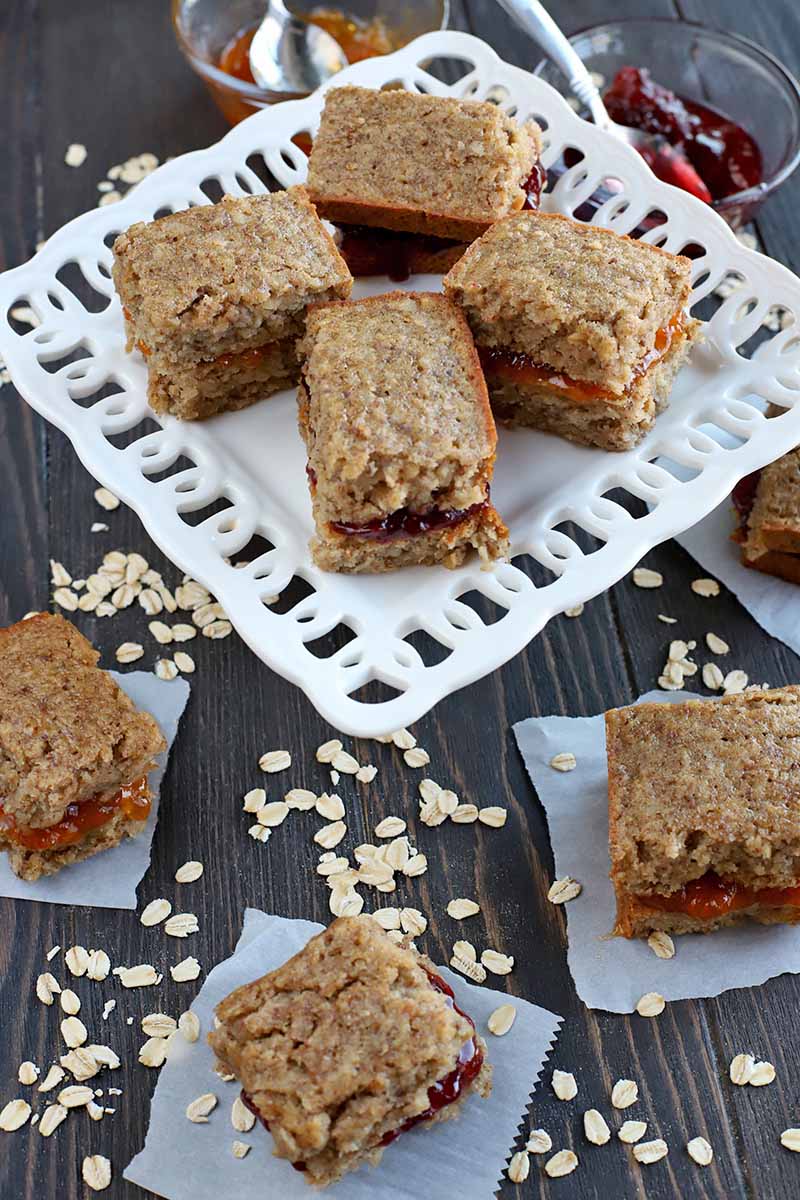
I like to split my batches in half for variety, but you can also use just one flavor if you like.
The best part is, this recipe is ridiculously easy to make.
I recommend making these on a Sunday afternoon, so you will have breakfast ready to go all week long. Just make sure you set aside enough time to soak the oats ahead of baking day.
Plus, these are gluten free, dairy free, and you can substitute the egg if you’re looking for a vegan option as well. I use a combination of alternative gluten-free flours such as brown rice, sorghum, and xanthan gum to still mimic a chewy texture.
You’ll save a bunch of money by making them yourself, and you can customize to your heart’s content. If you ask me, that’s breakfast done right!
Print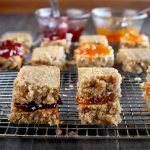
Gluten-Free Chewy & Fruity Breakfast Bars
- Total Time: 9 hours, 5 minutes
- Yield: Makes 8 bars 1x
Description
Getting out of bed in the morning just got a whole lot easier with gluten-free chewy & fruity breakfast bars. This soft, flavorful handheld breakfast is stuffed with your favorite fruit preserves in the middle. They taste like a sweet treat, but are loaded with healthy ingredients to start your day off right. Read more.
Ingredients
- 2 cups gluten-free old fashioned oats
- 6 cups water
- Butter, oil, or margarine for greasing pan
- 1/2 cup palm sugar, coconut sugar, or your choice of granulated sweetener
- 1/4 cup ground flax seed
- 1 tsp ground cinnamon
- 1/2 cup brown rice flour*
- 1/2 cup sweet sorghum flour *
- 1/2 tsp xanthan gum*
- 1/2 tsp salt
- 1/4 tsp baking soda
- 1/4 tsp baking powder
- 1 large egg
- 3/4 cup honey or agave syrup
- 2 tsp pure vanilla extract
- 1/2 cup coconut oil, melted (or canola oil)
- 1/4 cup all-natural fruit preserves in your favorite flavor(s)
Instructions
- In a large bowl, combine oats and water. Soak overnight, or for at least 8 hours. Drain and set aside.
- Preheat oven to 350˚F. Grease a 9-by-13-inch baking dish with butter, oil, or margarine.
- Place the palm sugar, ground flax, cinnamon, brown rice flour, sorghum flour, xanthan gum, salt, baking soda, and baking powder in a large mixing bowl. Whisk to combine.
- Beat the egg in a medium-sized bowl. Add the honey, vanilla, and melted coconut oil, and stir to combine. Stir in the oats.
- Add wet ingredients to dry ingredients. Mix well with a wooden spoon.
- Pour mixture into greased pan. Spread in an even layer.
- Bake for 25 minutes, or until well set. Remove from oven and cool completely in the pan.
- Cut into 16 equally sized pieces. Place 8 pieces on a clean work surface and spread evenly with preserves. Place remaining bars on top.
Notes
If you’re not gluten free, you may substitute 1 cup all purpose flour for the brown rice flour, sorghum flour, and xanthan gum.
- Prep Time: 10 minutes
- Cook Time: 8 hours, 55 minutes
- Category: Gluten-Free
- Method: Baking
- Cuisine: Breakfast
Keywords: gluten-free, breakfast bars, flourless, jelly, jam, fruit, preserves
Cooking By the Numbers…
Step 1 – Soak Oats
Combine oats and water in a medium-sized bowl. Allow the oats to soak for at least 8 hours, or overnight.
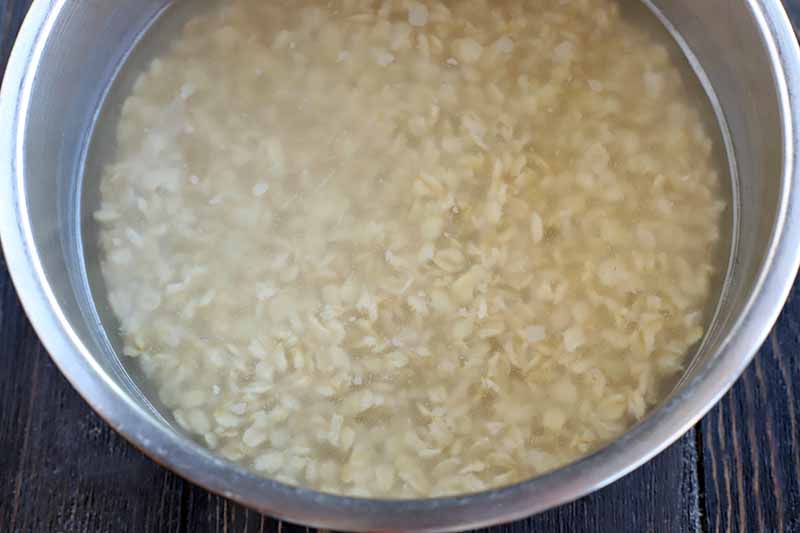
When you’re ready to bake, drain the oats in a colander. Set aside.
Step 2 – Melt Coconut Oil, Measure Ingredients, and Preheat Oven
Melt the coconut oil in the microwave a small microwave-safe bowl. I do this on 50% power in short 15-second bursts.
Measure out all of the remaining ingredients as listed in the ingredients list.
Preheat your oven to 350˚F. Use butter or a dairy-free alternative to grease a 9-by-13-inch baking dish.
Step 3 – Combine Dry Ingredients
In a large bowl, whisk together the sugar, ground flax, cinnamon, brown rice flour, sorghum flour, xanthan gum, salt, baking soda, and baking powder until well-combined.
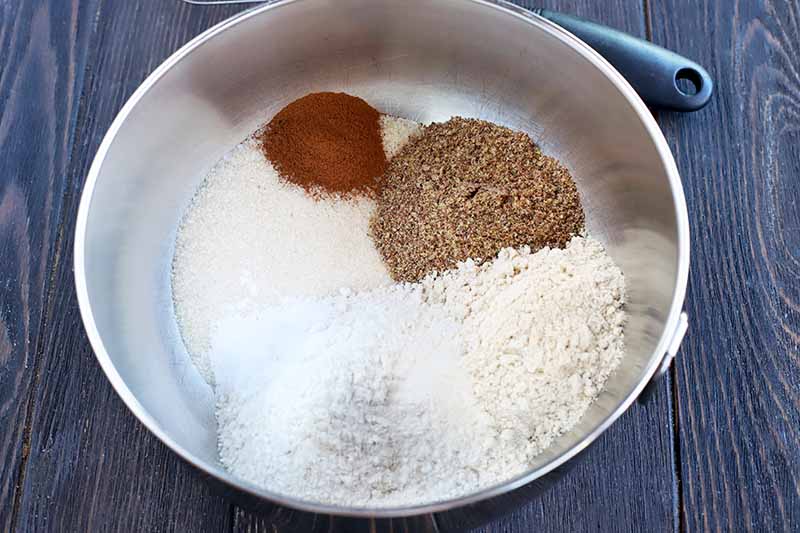
Set aside.
Step 4 – Combine Wet Ingredients and Finish Batter
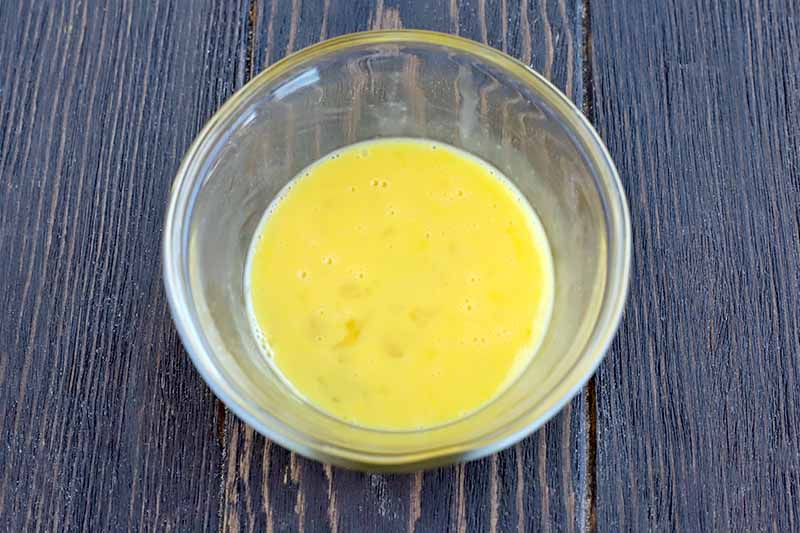
Beat the egg in a medium-sized mixing bowl. Add the honey, vanilla, and melted coconut oil. Stir to combine.
Stir in the soaked oats until combined.
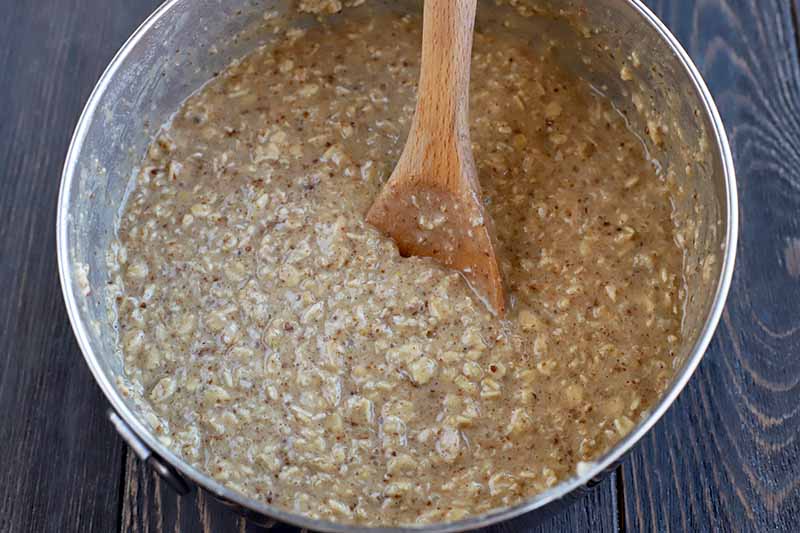
Add the wet ingredients to the dry ingredients, stirring with a wooden spoon until well-combined.
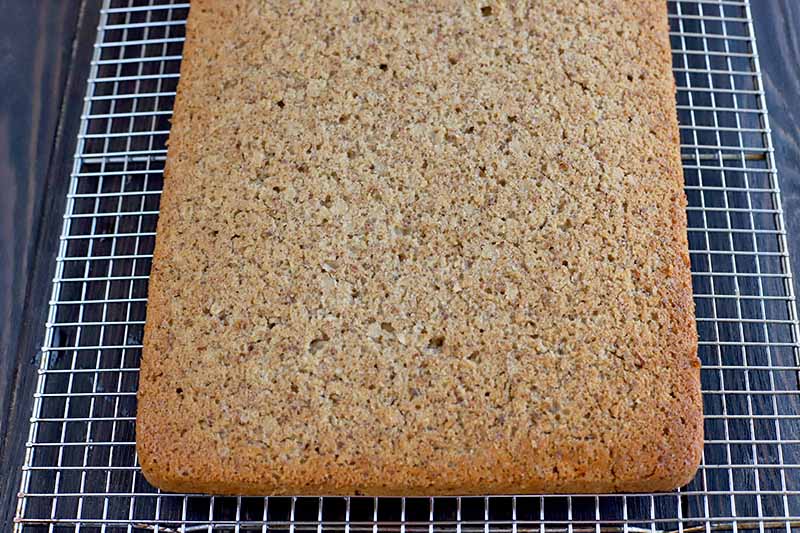
Step 5 – Bake
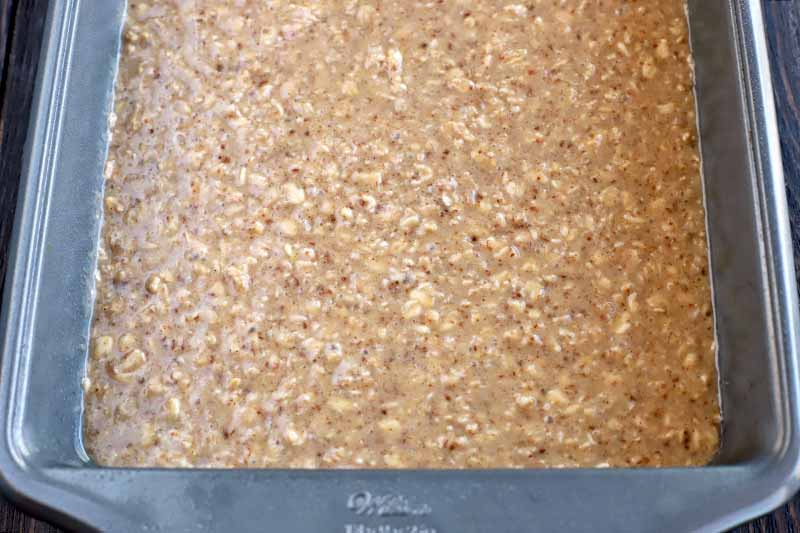
Add the mixture to the greased baking dish. Spread it in an even layer with a spatula.
Bake for 25 minutes, until set and golden brown on the edges.
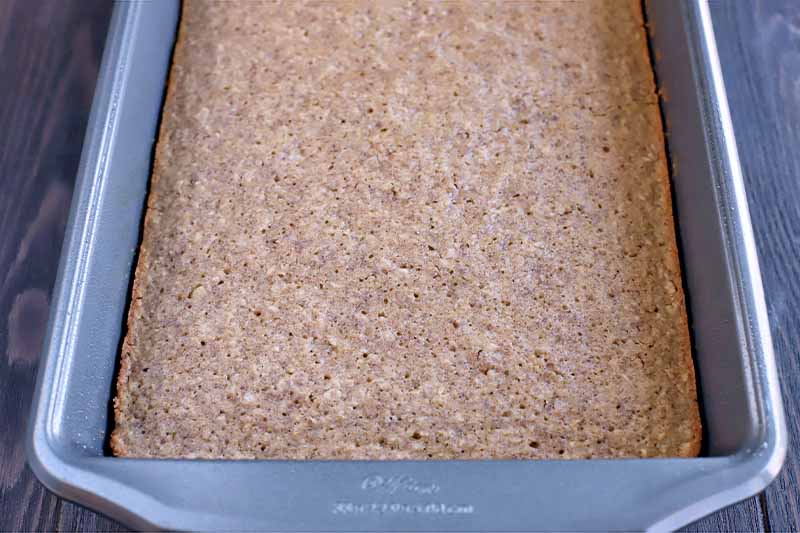
Remove from the oven and cool completely in the pan on a wire rack.
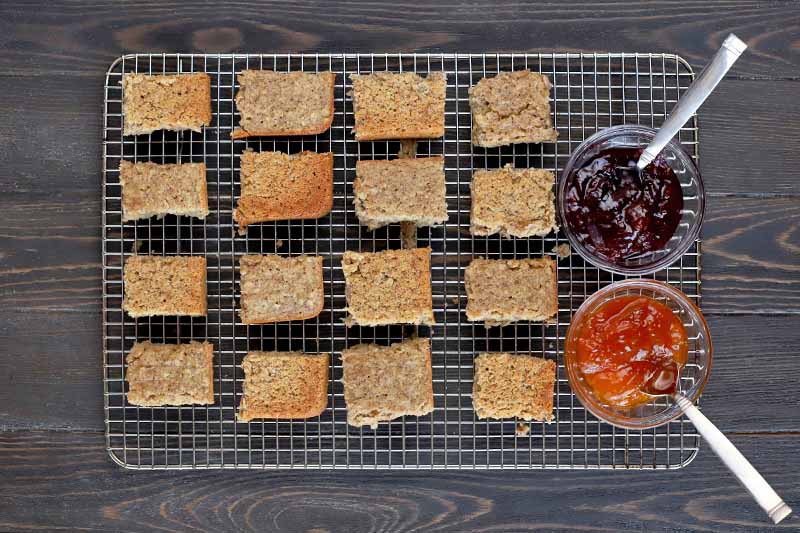
Step 6 – Cut and Fill
Turn out onto a clean work surface.
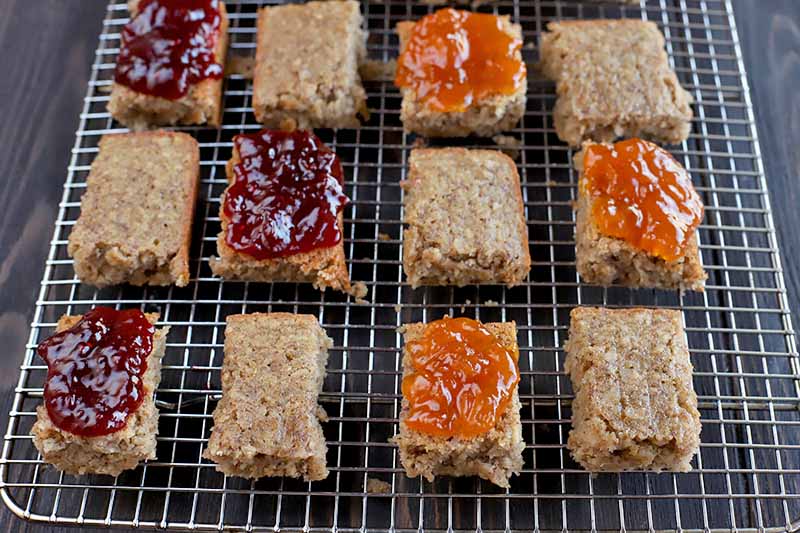
Cut into 16 equally sized bars. Spread 8 bars evenly with preserves, alternating flavors as desired.
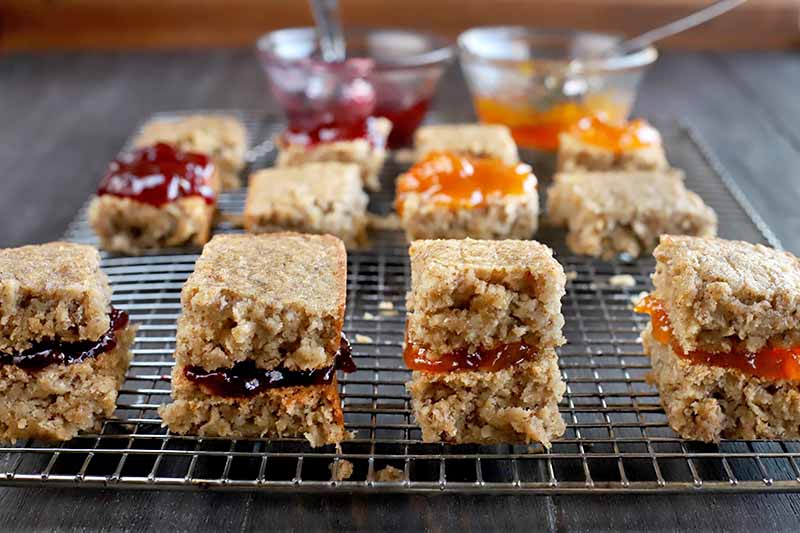
Top with the remaining bars to make sandwiches.
You can serve these right away, or store them in an airtight container for up to one week.
For make-ahead breakfasts, they may also be wrapped individually in plastic and refrigerated or frozen for longer storage.
Does It Matter What Kind of Fruit Preserves I Use?
My favorite part of this recipe is that it does not matter what type of fruit preserves you use. That’s where you’re able to customize! You can use everything from apricot to raspberry, strawberry to four-fruit, and so much more.
I recommend using at least two different flavors for variety, but if you are a preserves fiend, use more if you have them on hand.
You can even make it different by using peanut butter or hazelnut chocolate spread in the middle for a special treat, if you are so inclined.
Need more break bar inspiration? Check out these recipes:
- Chocolate Date and Nut Bars
- Blueberry and Pecan Oat Bars
- Whole Wheat Oat Bars with Chocolate Drizzle
And remember, you can take a look at all of our gluten-free recipes here.
What fruit type of fruit preserves will you use in these gluten-free chewy fruity breakfast bars? Tell us in the comments section below, and be sure to come back to rate this recipe once you’ve tried it!
Photos by Meghan Yager, © Ask the Experts, LLC. ALL RIGHTS RESERVED. See our TOS for more details. Originally published on September 15th, 2011. Last updated: May 19, 2023 at 13:59 pm.
Nutritional information derived from a database of known generic and branded foods and ingredients and was not compiled by a registered dietitian or submitted for lab testing. It should be viewed as an approximation.
About Meghan Yager
Meghan Yager is a food addict turned food and travel writer with a love for creating uncomplicated, gourmet recipes and devouring anything the world serves up. As the author of the food and travel blog Cake 'n Knife, Meghan focuses on unique foodie experiences from around the world to right at home in your own kitchen.